Contact Sheets as a Map of a Roll
A contact sheet turns a strip of negatives into a readable sequence, helping you compare frames, spot patterns, and choose what deserves a print or scan.
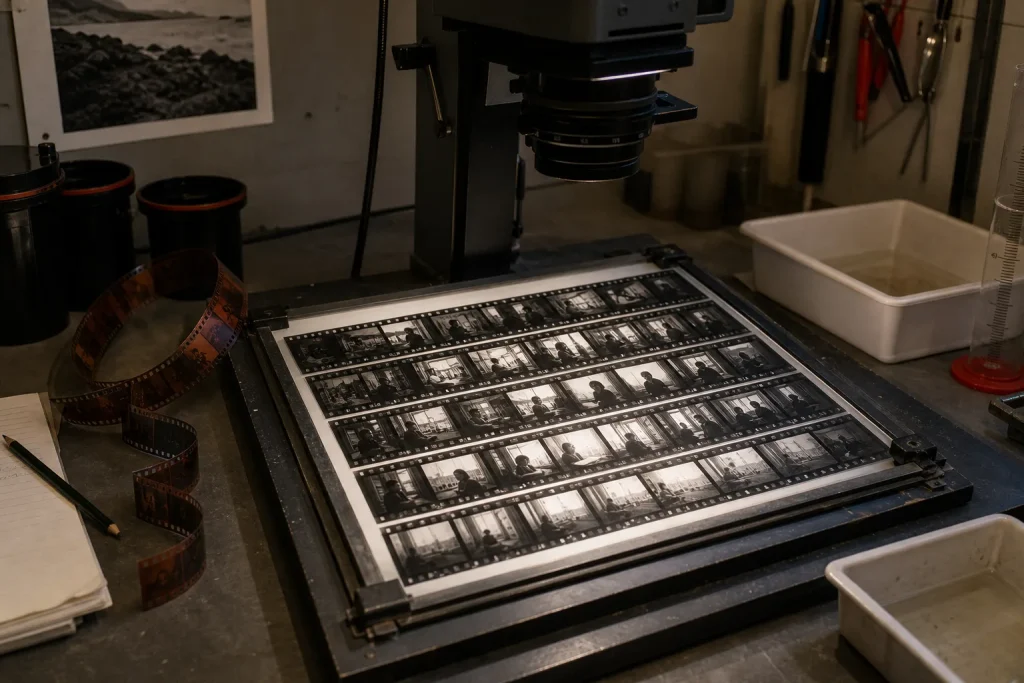
A strip of negatives lies beside the enlarger, curled like a narrow ribbon. On its own, it offers a row of tiny, orange-brown pictures that are hard to judge. Place the strip in contact with photographic paper, expose it under an enlarger, and the roll becomes a compact page of positive images: a contact sheet. Its job is not to make finished photographs. It is to let you read the roll before you decide which frames deserve more attention.
A roll in one view
Each frame on a contact sheet appears at roughly the size of its negative. The pictures are small, but their order stays intact. You can follow the roll from the first exposure to the last, see what changed between frames, and compare nearby attempts without relying on memory.
That sequence is useful because a roll often contains more than separate subjects. It may trace a walk from a bright street into a dim shop, a portrait session with a subject growing more at ease, or a landscape as clouds pass across the light. A contact sheet keeps those relationships visible. A single enlarged print can be striking, but it cannot show you what came immediately before or after it.
The sheet also gives you a working index. Frame numbers, edge markings, and the order of the images help connect a promising picture to the corresponding negative. Once the negatives are cut into strips, stored in sleeves, or opened in a scanning program, that link saves hunting. Think of the contact sheet as a map with the terrain drawn very small: it shows where to look, not every detail you will find there.
Making the first sheet
For a traditional darkroom contact print, place a clean sheet of photographic paper emulsion-side up on the baseboard, then lay the negatives emulsion-side down against it. The emulsion is the light-sensitive side of each material; when the two emulsions face one another, the negative sits close to the paper and the image remains crisp. A contact-printing frame or a clean sheet of glass holds the strips flat. Keep the edges and frame numbers visible if you want the sheet to serve as a useful index.
Give the paper a brief exposure from an enlarger or another suitable light source, then process it in the sequence specified for that paper and chemistry. Paper types differ in their safelight requirements, and some must be handled in darkness rather than under a safelight. Check the paper manufacturer’s instructions for the approved safelight type, distance, and handling conditions before switching one on; if the instructions call for darkness, arrange the materials in darkness. Follow the paper and chemistry instructions for exposure, development, fixing, washing, and any stop bath used in your process. Keep dust, fingerprints, and stray light away from the emulsion; little marks can become surprisingly prominent on a small print.
There is no need to make the first sheet beautiful. The aim is legibility. If the negatives are tightly curled, use a contact frame that presses them flat rather than forcing them down with heavy objects. If a strip crosses the frame numbers or overlaps another, reposition it. A tidy sequence makes comparison easier later.
Reading the small pictures
Start with the broadest questions. Which frames contain the subject you meant to photograph? Which have a clear arrangement of shapes? Where does the eye land first, and does the background help or distract? At contact size, look for a strong silhouette, a useful gesture, a clean edge, or an arrangement that feels balanced. These cues can survive enlargement even when fine detail is still impossible to judge.
Then compare neighboring frames. A person may blink in one and glance toward the camera in the next. A passing car may briefly cover a building, or a cloud may soften a hard patch of light. The differences can be small but decisive. Instead of asking whether a frame is good in isolation, ask what changed across the sequence and which version handles the moment best.
Pay attention to the negative as well as the picture. A very dense negative may print darker under the same exposure than a thin one, while a thin negative may need careful handling to avoid losing useful detail. These tonal clues are not a final verdict: paper choice, enlarger exposure, contrast filtration, and scanning adjustments all affect the later image. Use the sheet to identify frames that need attention, not to predict every quality of a finished print.
Choosing frames with care
It helps to mark candidates in a consistent way. A soft pencil on the sheet’s border can identify a first-choice frame, while a different mark can flag a frame worth comparing. Avoid writing over the image or making marks on the negative. If the sheet will be handled often, keep it in a sleeve or store it flat, and record the roll identifier and frame sequence somewhere that stays with it.
Say you photograph a friend reading by a kitchen window and make several frames as the light shifts. Imagine that the first frame has a pleasing profile but a bright mug draws attention; the next keeps the profile and shifts the mug out of the main line of sight; the last catches a more animated expression but lets the face turn away. Mark the middle frame as the strongest starting point for a print, and note its frame number beside the roll identifier. The resulting decision is clear: begin with that negative, while keeping the other two as alternatives tied to the same roll.
Don’t turn selection into a contest where every frame must be ranked. Some rolls include experiments, near-duplicates, and images whose value becomes clear only beside another frame. Mark a short group for closer inspection, then make a work print or scan from the candidates. The contact sheet should narrow the field, not close the case.
Limits of contact size
A contact sheet is excellent at showing sequence and composition, but it is a poor place to judge fine focus, grain, or small facial detail. A frame can look crisp at contact size and reveal motion blur when enlarged. Conversely, a slightly soft image may still print beautifully if its subject and atmosphere matter more than edge sharpness.
Small highlights and shadows can also mislead. The sheet’s contrast depends on the paper, exposure, development, and the negatives themselves. If the whole page looks too dark or too pale, adjust the contact-print exposure and make another sheet rather than interpreting every frame through a single bad tonal rendering. Keep the process consistent enough that comparisons remain useful, but remember that a contact sheet is a working tool, not a neutral measurement.
It is not worth chasing perfect borders, elaborate annotations, or a polished presentation before you know which images matter. Clean contact between negative and paper, readable frame order, and a clear roll label do far more for the task. Save the fine finishing for the individual print or scan.
From map to finished image
Once you have chosen a frame, use its number and position to find the negative in its strip. Check the edge markings and roll label before cutting or scanning, especially if several rolls are on the table. A loupe can help you inspect the negative more closely; a test strip in the darkroom or a modest scan preview can reveal focus, dust, and tonal detail that the contact sheet cannot settle.
Keep the sheet with the negatives it describes. If you scan, make a digital contact sheet with frame numbers and a filename that identifies the roll, then preserve the original sequence. If you print in the darkroom, note the chosen frame and any useful print decisions on a separate record or in the sheet’s margin. The goal is a dependable route from small image to original negative.
With that route in place, a roll stops being a row of mysterious strips and becomes a sequence you can revisit. The contact sheet helps you choose, but it also preserves the alternatives—the near miss, the earlier gesture, the frame whose meaning may sharpen later. Keep those neighboring images together, and the map remains useful long after the first selection is made.
Frames in the same light
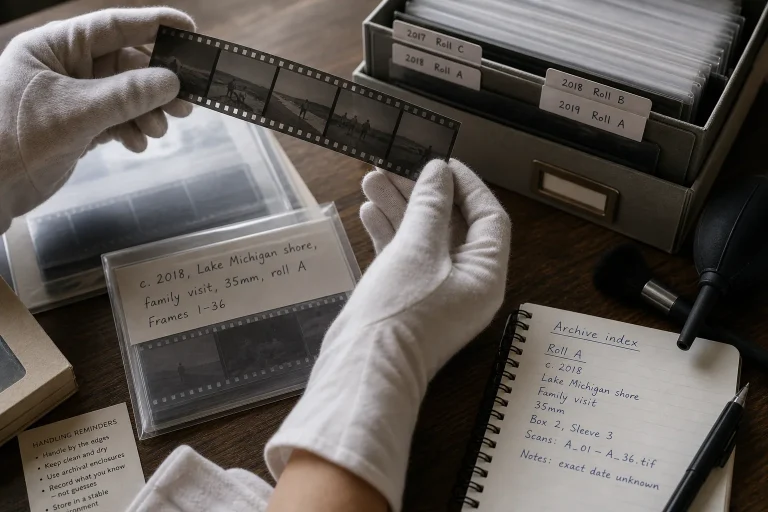
Sleeves, Labels, and the Long Life of a Negative
A clear labeling and storage routine makes film negatives easier to identify, handle, and revisit. Learn…
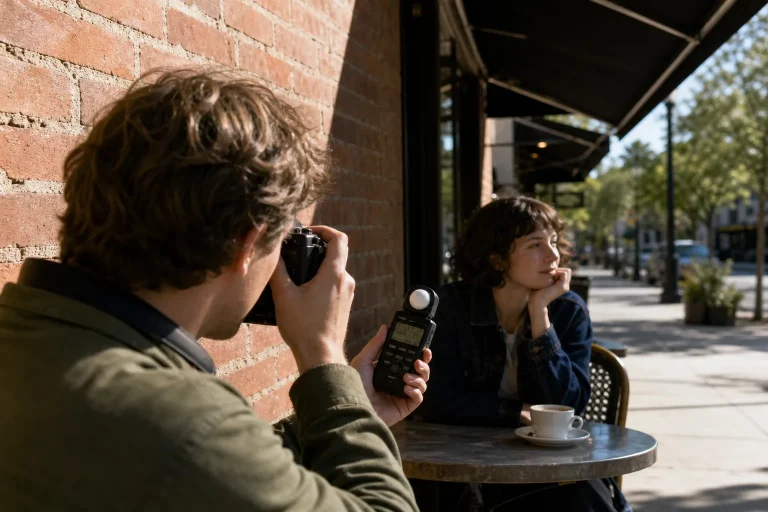
Reading a Sunny Scene Without Letting the Meter Decide
Learn to read bright areas, deep shade, and the subject’s place in the light before choosing…