Reading a Sunny Scene Without Letting the Meter Decide
Learn to read bright areas, deep shade, and the subject’s place in the light before choosing an exposure for film.
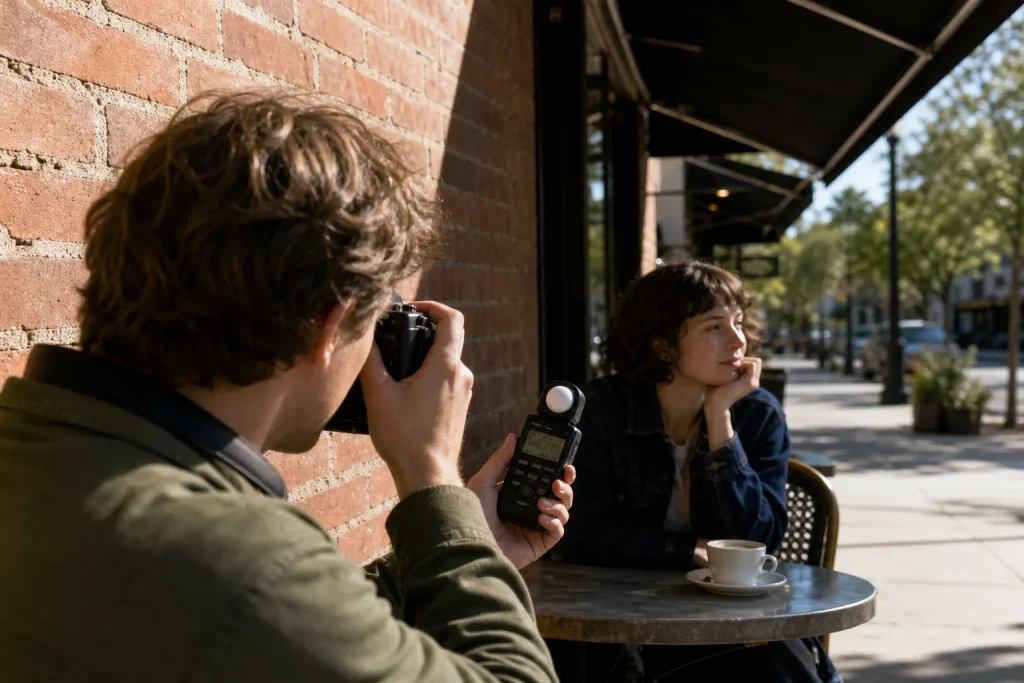
You’re standing beside a sunlit brick wall while a friend waits beneath a café awning. The meter points one way; the bright pavement and your friend’s face seem to ask for different treatment. Before turning a dial, decide what the photograph needs to show. A meter reports light according to its design; it cannot choose which part of the scene matters most to you.
Reading this kind of scene means identifying the subject, noticing where the light falls, and using the meter as a reference. The film stock and the way you plan to process and print or scan it also matter, so treat general advice as a starting point rather than a fixed exposure rule.
Choose the subject
Name the subject in plain terms. It might be a person against a bright wall, a white building under a clear sky, or a dark doorway framed by sunlit stone. This keeps the brightest patch from taking over simply because it attracts your eye.
Ask what should remain legible in the negative and the print or scan. If the photograph is about your friend’s expression, keep the face in mind. If the subject is the strong shape of a doorway, its dark interior may be part of the design. You are choosing priorities, not trying to preserve every tone equally.
Notice how the subject relates to the light. Is it directly lit, in open shade, or crossed by a sharp boundary between sun and shadow? Is the bright background behind it or beside it? A shaded face against sunlit pavement presents a different exposure decision from a face in sunlight against a dark wall.
Scan the bright areas
Find the brightest area in the frame that matters to you. A small window glint may not need texture; a pale shirt, cloud, or painted surface may. Decide whether that bright area should retain visible detail or can become nearly blank.
Look for the boundary between light and shade. A white wall can reflect light onto a nearby face, while a dark porch may stay dim beside a bright sidewalk. Don’t assume that everything in sunshine is equally bright or that everything in shade is equally dark.
You are not searching for one exposure hidden inside the scene. You are identifying the tones that would be most costly to lose. If an important bright surface needs texture, avoid an exposure choice that makes it featureless. If the scene depends on a deep shadow, you may let it stay dark rather than trying to brighten everything.
Take a meter reading
Use the camera’s meter, a handheld reflected-light meter, or an external meter app as a starting point. Follow the device’s instructions: a camera’s through-the-lens meter may respond to much of the view, while a handheld reflected-light meter reads the area you point it toward. An incident meter, if you have one, measures light falling on the subject rather than light reflected from it.
These methods answer different questions. A reflected-light meter cannot know whether the area it sees is pale stone or dark cloth; it aims to render the measured area as a middle tone. A bright surface can therefore read darker than you intend, while a dark one can read lighter. The meter is not malfunctioning; it is applying a general interpretation.
If your camera offers spot metering, aim it at a specific area you have already chosen, such as the face or a textured patch of bright wall. With a center-weighted or averaging meter, remember that the reading blends a larger portion of the composition. Keep track of what each reading represents. “The meter says this when pointed at the face” is more useful than “the meter says this.”
Compare important tones
Take separate readings from the subject, the brightest important area, and the deepest shadow where you want detail. Keep the framing and metering method consistent enough for the comparison to be meaningful. If your meter shows exposure differences in stops, use those readings to understand the contrast; don’t assume that a particular difference is safe or unsafe for every film.
Film’s usable tonal range depends on the stock, the scene, and how you plan to process and print or scan it. Negative film often handles bright areas differently from reversal film, but that distinction is not a license to ignore shadows or highlights. A dense shadow may lose the texture you wanted, and a very bright negative area may be difficult to render as intended. Check the film maker’s guidance and consider the practices of your lab or darkroom.
Say you’re photographing a friend seated beneath a café awning, with sunlit sidewalk behind them. The face is the subject, and you want some pavement texture. You take a reflected reading from the face, then one from the pavement; the pavement reading calls for less exposure. That tells you the face and background present a contrast choice, not which choice is correct. You can favor the face and accept a brighter background, or shift your position so the background falls into shade. The observable result you’re aiming for is a readable expression, with the pavement either retaining texture or becoming a deliberate bright shape.
Choose an exposure
Select the reading that best supports your priority. If the face is the subject, begin with its reading and consider whether the bright background can tolerate that exposure. If a light-colored subject is central, interpret its reflected reading with care: the meter may suggest rendering it closer to a middle tone than you want. If you want a silhouette, a reading from the bright background may suit the composition better than a reading from the subject.
How much to adjust a reflected reading depends on the meter, film stock, and intended result. Use exposure compensation or manual controls only with those limits in mind; don’t apply a universal correction to every bright or dark subject.
Choose aperture and shutter speed for the photograph as well as for the meter. A wider aperture can isolate the subject; a smaller aperture can keep more of the scene in focus. A faster shutter speed can help with movement, while a slower one calls for steadier handling. Once those creative needs are clear, treat the meter’s suggested combinations as options.
Advice about favoring exposure for negative film or protecting highlights on reversal film is stock- and workflow-dependent. Consult the film maker’s technical guidance for the specific stock, and account for your processing and printing or scanning method. If you are unsure, avoid carrying a rule from one film to another.
Check the frame
Before pressing the shutter, inspect the edges of the frame. A bright car hood, white sleeve, or patch of sky may influence an averaging meter even if it is not important to the photograph. If the reading seems unexpected, take another from the subject or a nearby surface receiving the same light, and note what each reading measures.
Check whether the light is changing. A cloud moving across the sun can soften the contrast; a person stepping from shade into direct sun can alter the subject reading. In steady light, you can often keep a decision for several frames. In changing light, reassess rather than relying on an earlier reading.
If your camera has exposure lock, use it after metering the area you intend to prioritize, then recompose. In manual mode, set the aperture and shutter speed yourself, and check the meter indication again after setting them. If either control has shifted, confirm the values before taking the frame. For a handheld incident meter, follow its manual for where to hold it and how to orient its dome; those details vary by model.
Keep useful notes
When learning a film stock or camera meter, keep a compact record of decisions that may help you understand a later result. Note the lighting, what you metered, what you prioritized, the exposure settings, and any compensation. After development, compare the negative and the print or scan with your description. The goal is not a table of fixed settings for every sunny day, but a clearer sense of how your choices translate into images.
Imagine you have a pale flower beside a dark wooden fence in open shade. You use a reflected meter to read the petals, then compare that reading with the fence. You decide the petal texture matters most, set the camera according to the flower reading and the stock guidance, and record that choice. After development, the petals remain distinct but the fence is very dark. Your note makes the tradeoff visible: next time, you might change the composition or lighting rather than blindly altering exposure and risking the petal detail.
It is not worth taking separate readings from every object, memorizing a menu of sunny-day settings, or trying to make every shadow as bright as the subject. Those habits add work without clarifying what the photograph is about. Read the areas that matter, then make one deliberate choice.
Make the tradeoff
A bright scene can support several valid exposures because it can support several possible photographs. One choice may preserve a face; another may emphasize the hard edge of sunlight; a third may make the subject a silhouette. The meter helps compare those choices, but the subject and the light tell you which comparison matters.
Identify the subject, inspect the important bright and dark areas, and take readings you can name. If no exposure preserves everything, decide what can give way. A deliberate loss can be more expressive than a compromise that leaves every part of the photograph indistinct.
Once you have chosen, take the picture rather than waiting for the meter to approve it. If the moment and light allow, make another frame with a deliberate adjustment. Keep the reason for that variation clear, and use the film maker’s guidance when deciding how far to depart from a meter reading. The useful habit is not assigning one setting to every sunny scene; it is recognizing what this particular scene asks you to protect.
Frames in the same light
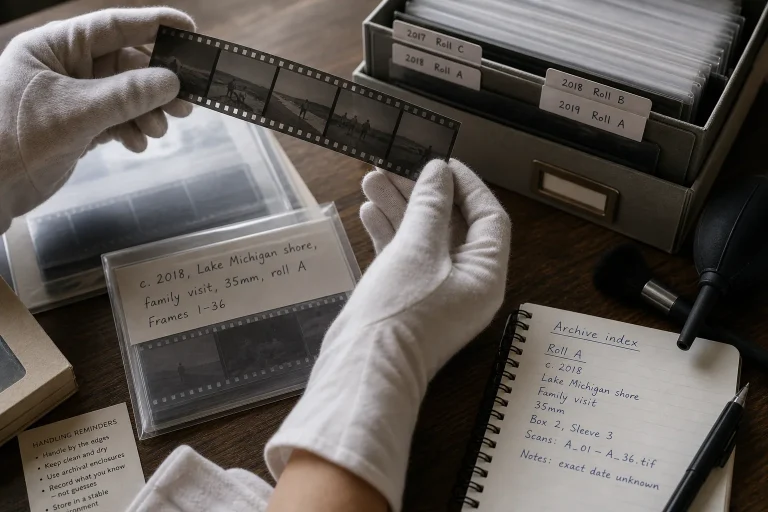
Sleeves, Labels, and the Long Life of a Negative
A clear labeling and storage routine makes film negatives easier to identify, handle, and revisit. Learn…
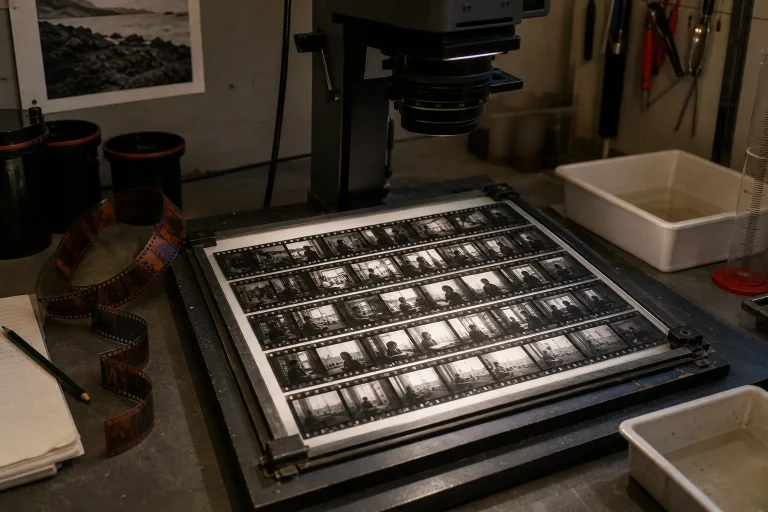
Contact Sheets as a Map of a Roll
A contact sheet turns a strip of negatives into a readable sequence, helping you compare frames,…